

Identify what you need to recover
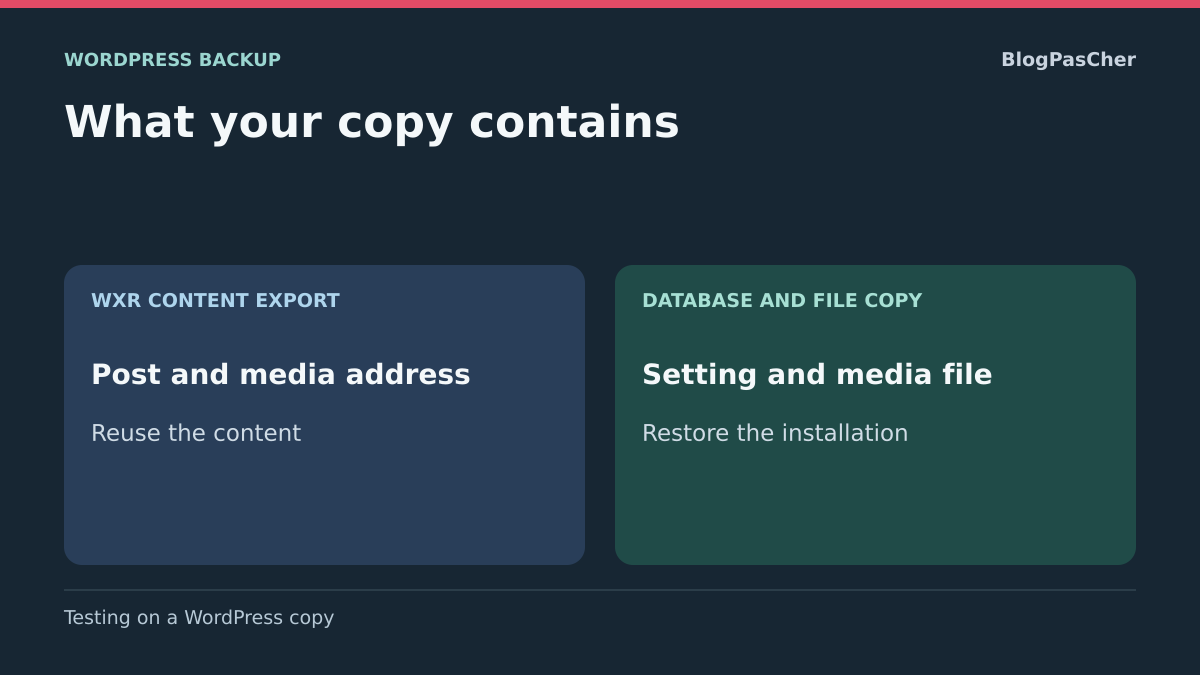
You downloaded an XML file from Tools, Export. It can help move pages and posts or recover some content on another WordPress installation. To recover the site as it worked, you must also be able to read its settings, load its files and restore its features. First choose the recovery objective. An association may want to recover its meeting reports. A store also needs its orders, access and payment functionality.
Make a short list of what would be lost in a failure. Include three content items, one media file, one visible setting and one essential feature. For example, a listing, its photo, a menu and a form. Also record data that changes daily. This inventory will help check the backup and prevent assuming the entire site has returned simply because the home page is back.
The file extension helps identify what you downloaded. A WXR XML is a content export. An SQL file generally represents a database export. A ZIP archive may contain media, code or several components. If the archive comes from the hosting provider, open its inventory to determine whether it also covers the database and whether restoration requires other files or a specific service.
Check what the content export contains
In WordPress, open Tools, Export. To move several related content types, All content provides a broader basis than a posts-only export. Post types that plugins allow to be exported may appear in the WXR. If using a filter, record the author, dates and selected content type. Keep this information with the file to understand later what was intentionally omitted.
Open a copy of the XML in a local editor without sending it to an online analysis tool. Check that it contains a wp:wxr_version element, then search for a reference page title. An attachment item may contain wp:attachment_url. This value provides an address where the importer can try to retrieve the file. Check that address and separately preserve the original file while you still have access.
The export may contain authors and content metadata. To check site settings, also request a database record or hosting backup. For example, text in a post may be in the XML while a plugin’s sending address, a theme setting or deployment rules are not. Part of the appearance may depend on templates saved as content. Their presence does not guarantee that the theme and its files will load on the target site.
Reproduce the difference on a copy
On a WordPress copy, create a reference post, add a fictional file and record its address in the media library. Give a test setting an easily recognizable value. Choose a setting with no effect on accounts, payments or emails. Export all content from the administration area, then find the post and attachment in the resulting file.
If you have WP-CLI, the following example creates a folder and exports content from the selected installation. In a Linux or macOS shell, run the commands from the WordPress copy’s folder. Replace the fictional path with a new folder inside an existing private parent directory, outside any web root. The folder is created with owner-only permissions; && prevents export if creation fails. On Windows, first create the private folder with appropriate permissions, then use only the wp export command with its absolute path. WP-CLI may create several XML files for a large site; keep every file in that batch.
For this comparison, search the WXR for the content title and attachment address, then separately find the media bytes in the file backup. Check the reference setting in the database copy. These three observations establish your files’ scope; record them for your own backup set.
To repeat the comparison yourself, record the post title, attachment address and setting value. Open the XML in an editor, then the file backup in its original tool. Find the file in the uploads copy. If you have only the XML export, try opening the media address before closing the old site. A link working today does not guarantee the file will remain available after the switch.
mkdir -m 700 "/chemin/prive/export-contenus" &&
wp export --dir="/chemin/prive/export-contenus"
Approach 1 — Move content to a WordPress site that is already prepared
This approach applies if you want to reuse pages or posts in a site already equipped with its structure and theme. First create a destination copy. Compare registered content types and the features that give meaning to blocks or fields. For example, a page may import its text while displaying an unknown block if the plugin defining it is absent.
Importing may take longer than the initial XML download. Check the report and links that could not be loaded. When an image is private or the old site has disappeared, recover the file from the uploads backup, then check its attachment relationship. For an export considered invalid, first have the file structure and download completion checked.
- Export the chosen content from the source site. Keep the time, filters and all XML files.
- In Tools, Import, choose the WordPress importer on the destination copy. Map authors to the intended accounts. When the tool offers to download attachments, check that the copy can reach the source site and its media is accessible.
- Open two imported content items, a post from a different author and an image. Check text, attribution, the served file and display with the destination configuration.
- If you need to repeat the attempt, return the copy to its pre-import state. Repeating attempts on the same copy complicates tracking duplicates, authors and files actually retrieved.
Approach 2 — Prepare an installation backup
On a self-hosted site, request a set containing the database and files from the same recovery point. The host’s backup panel may already gather these components. Check whether the action restores an entire domain, only a database or only a folder. If hosting contains several sites, have the database and path matching the target site confirmed.
Files may include uploads, themes, plugins and must-use plugins, as well as installation-specific configuration files. If media is offloaded, identify where originals are stored and how to restore them. If rules or tasks depend on the hosting panel, record those settings separately. Object storage, email transport or a payment service may require recovery outside WordPress.
To assemble the set yourself, export the database using the hosting tool and copy files from the same site to a private location. Compare the two operation times. On a site receiving writes during capture, ask the host for a consistent snapshot or prepare a recovery window with the site administrator. Keep at least one copy somewhere you can still access if the hosting account stops responding.
The database may contain personal data and configuration files may contain secrets. Download the set through the intended channel, restrict access to those responsible for recovery and avoid placing files in a public site folder. Record how to retrieve them, but keep storage credentials in your team’s secure space.
Approach 3 — Check what a managed service allows
On WordPress.com, content export and integrated restoration are separate functions. Open the exact site’s dashboard and locate backup options available with the active plan. Confirm available recovery points, the covered period and included components before starting a restore. Service functions may evolve with plans and installation settings.
If your plan provides only export access, keep the XML and download the media library separately using the intended tools. Record the settings and appearance needed to rebuild the site elsewhere. If the objective requires an installation copy or recovery to a precise time, ask support what it can restore for this domain.
For a managed WordPress host, also check whether restoration takes place in a separate environment. If the button directly restores the public site, first request a test copy. An available restoration time is useful only if it matches the data you need to preserve.
Prepare restoration with a backup tool
On a self-hosted installation, UpdraftPlus can create backups and offer restoration by component. If you already use such a tool, open the details of the last completed set. Download every part and identify those containing the database, plugins, themes and media. Check your configuration to see whether required additional folders are included.
Take a manual backup before an important operation and verify that the remote copy is accessible with an authorized account. On a test copy, restore necessary components and compare the set’s time and scope. A success message signals the tool’s operation has finished. Reference pages, media and features confirm that restoration meets the need.
This option is useful when your hosting allows installing and configuring a backup tool. It can complement a host-managed backup when access and retention differ. Compare WXR with the database-and-files set on your copy; check the features of the UpdraftPlus edition actually installed.
Take inventory when only the WXR remains
If the old site is still accessible, open three images from the media library and save their originals in private storage. Also check an older media item and a file accessible only to logged-in people. For a large library, request a copy of the uploads folder or the export provided by its storage. Keep relative paths and filenames. They help match media when identical names were used on different dates.
Ask the site administrator to record the active theme’s name and version and essential plugins. Identify components that can be reinstalled from their source and those containing custom code. With a child theme, the child’s code and parent version are two items to recover. For a configuration offering its own export, keep that file beside the WXR and specify which screen produces it. Check that the receiving site can read the format with a compatible version.
If you can no longer open the old site, examine backup sets available in hosting and copies held by previous administrators. An old XML may recover text that is still useful. Import it first into a test WordPress installation and open priority content. Mark media and features still needing restoration. For orders or access not included in the export, find another consistent source before reopening the feature.
Keep the original WXR separate. If you need to remove content or correct paths before another attempt, work on an identified copy and record changes. The initial file remains available to examine an author, date or attachment relationship after import.
Repeat the check before a real restoration
First restore into a separate copy with a dedicated database. Check that its configuration points to that database and that emails, payments and external tasks are disabled or in test mode. Finding a password in the copy does not prove access with the correct role works. Try an authorized login and open a page an anonymous visitor should be able to view.
Keep the test report with the backup. Record the domain, time, restored components and checks still open. If you only have a WXR, start by recovering content on a copy, then seek missing files, settings or snapshots from the site maintainers.
- Compare the number of useful content items and open a page, a post and media whose result you know.
- Check the active theme, required plugins, URLs and settings affecting the reference feature.
- Replay a flow with fictional data and record missing dependencies. If a component is unavailable, identify its recovery source before any public restore.
- Record events since the recovery point. With the site administrator, decide how to preserve newer orders, forms, subscriptions or edits.
Recover from a database-only backup
Start by identifying what the backup contains. In a hosting set, record the time and listed components. If you have an ordinary ZIP and Python 3 available, this command displays the list without extracting a file. Use python3 or py -3 instead of python if that is the launcher available on your computer. The presence of tar does not guarantee ZIP support, especially with GNU tar. Run it in the folder containing a private copy of the archive.
If the inventory contains only the database, you can recover text, settings and media paths without recovering the files themselves. Use a restoration tool appropriate to the actual format: a SQLite file and a MySQL or MariaDB export are not imported the same way.
A media path or plugin name found in the database helps locate its file. For an encrypted or host-specific archive, use the inventory in the tool that produced it. Keep the public site in its current state until recent data and expected features have been validated.
- Open a known post on the copy and record an image, a setting and a feature that must return with it.
- Look for a separate backup of uploads and custom code at the same recovery point. Also check external storage if the media library uses it.
- If only public components are missing, identify their official source and a version compatible with the restored set. For a child theme or custom plugin, look for team files or another hosting copy.
- Test each recovered dependency on the copy and record items still absent. If the immediate need is only text, recover that content from the copy before planning the return of other features.
python -m zipfile -l "./sauvegarde.zip"Validate a first restoration test and its rollback
Choose a backup point containing the database and files from the same site. On a dedicated copy, record the initial state of a post, a setting and a recognizable file. Also prepare returning the copy to that state. For files, keep a private copy of items to be replaced. For the database, keep its starting set and check how to reimport it.
Record the three reference points before restoration, after restoration and after rollback. Equality on these samples validates only the examined components. Add media, theme, plugins and features that must return together before considering recovery complete.
- Restore components from the chosen point to the isolated copy. Open the reference post and check the expected setting. For a file, compare its contents or fingerprint with the source.
- Also check a site-specific feature, such as image display or a form in test mode. Keep a record of the scope actually verified.
- Perform the planned rollback on the copy. Compare the post, setting and file again with values recorded before the attempt. If even one reference differs, correct the procedure before relying on it for the public site.
Recover attachments after a WXR import
In the XML, locate the attachment entry and its wp:attachment_url field. In Tools → Import, choose WordPress and check the attachment download option. Review the report even if the post text is already visible. File downloading depends on the source address and route from the destination.
To verify attachment recovery, compare the import report, created media record and retrieved file bytes. If the source URL returns 404, the presence of the post title in WordPress does not prove its image was recovered. Repeat the attempt on a clean copy after restoring access to the original.
Keep a list of media still absent. A WXR may preserve their addresses without containing the files. If neither the archive nor old site can recover an original, report that limitation in the recovery record.
- Record the file address, import message and a post using it. Check that the file opens from the copy’s authorized environment. An address working in your logged-in browser may be inaccessible from the destination server.
- If the old site is still available, correct the address or request authorized file access. If it has disappeared, look for the original in the uploads backup. Preserve the relative path and verify the recovered bytes match the media.
- Repeat the import on a destination returned to its initial state, or in a new copy. Check the post, its media record and the file. On an already active site, repair affected attachments with available files and check links in use before considering another complete import.
Define the coverage of the selected free backup
Before adopting UpdraftPlus, compare the scope actually included in your edition with the site’s files. Standard WordPress components do not necessarily represent all files outside wp-content, server rules or offloaded media. Do not assume an option advertised in a commercial plan is present in the free version.
On the copy, open existing backups in UpdraftPlus settings and record each available component. Download every part of one set and verify access to the remote destination. Do not rely only on an email notification: if hosting fails, you must know how to retrieve files without opening that WordPress installation.
For a beginner, a host-managed backup may be simpler if it allows restoration to a copy. For a technician, the decisive check remains restoring a consistent set and then verifying media, settings and features. WXR supplements this protection for content; it does not replace these components.
Sources and references
Use these references to check the features, requirements and limitations described. Reading documentation is not a practical test.
View 9 references
- WordPress — Tools, Export screen ↗
- WordPress — Generating a WXR export ↗
- WP-CLI — Exporting WordPress content ↗
- WordPress — Backing up the site ↗
- WordPress.com — Exporting content ↗
- WordPress.com — Restoring the site ↗
- WordPress — Official UpdraftPlus listing ↗
- WordPress · database backup ↗
- Python: ZIP command-line interface ↗